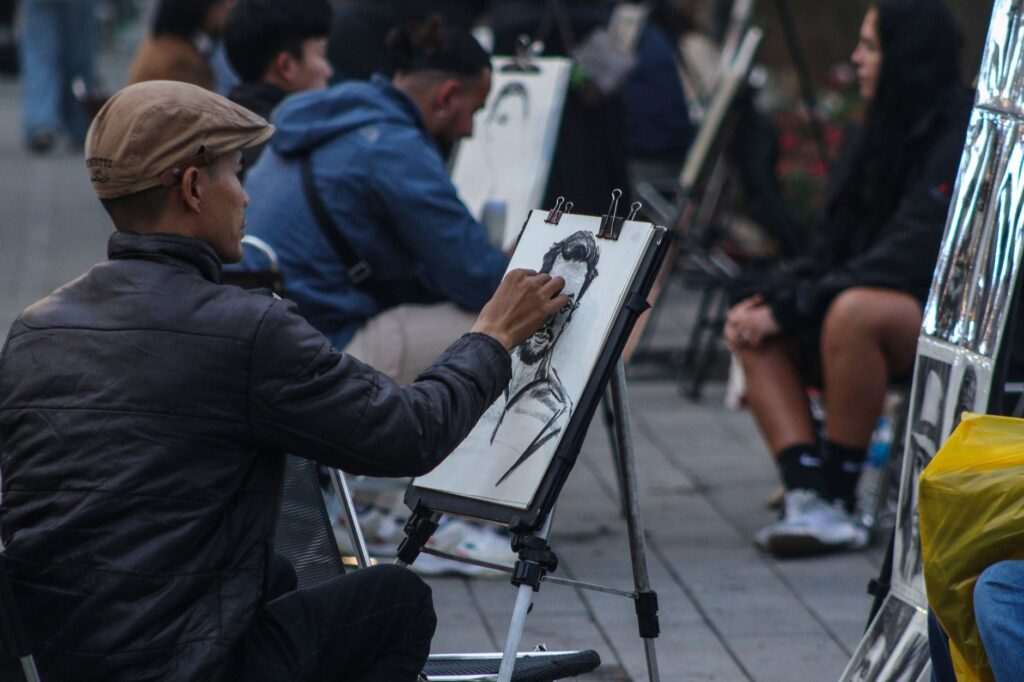
Charcoal Drawing Workshops in Anchorage: Vine vs Compressed, Blending, and Tonal Drawing (2026)
Charcoal is one of the oldest drawing materials in human history — the same carbon-based medium used for Paleolithic cave paintings at Lascaux and Altamira is available today in virtually the same form, capable of the same dark, smoky marks and the same capacity for bold, gestural expression. Its persistence across tens of thousands of years of artistic practice isn’t accidental: charcoal is exceptionally responsive, allowing the full range from delicate atmospheric tone to dense, velvety black; it’s easily corrected (smudged, erased, or blown away) during the drawing process; and its visual qualities — the soft, powdery marks, the rich tonal range, the capacity for both crisp line and atmospheric blur — suit the expressive demands of figurative and observational drawing better than almost any other medium. Every serious drawing tradition uses charcoal as a foundational medium: academic life drawing begins with charcoal; master painters made large-scale charcoal cartoons before transferring compositions to canvas; contemporary fine artists use charcoal for its immediacy, its physicality, and the quality of light it produces that graphite and ink can’t match. In Anchorage, charcoal drawing workshops serve both beginners encountering the medium for the first time and experienced artists deepening their tonal drawing practice. This guide covers charcoal types, blending tools, erasure techniques, fixative use, and how to approach portraits, still lifes, and landscape studies in charcoal in 2026.
Vine Charcoal vs Compressed Charcoal
The two fundamental charcoal types behave very differently and suit different uses:
Vine Charcoal
Made from burned grape vine sticks (or similar thin-diameter plant stems), vine charcoal produces soft, easily-erased marks — the powdery carbon sits on top of the paper tooth without embedding deeply. This makes vine charcoal ideal for the initial blocking-in stages of a drawing, where you want to establish major values and forms quickly, knowing you’ll refine and correct as the drawing develops. Vine charcoal lifts almost completely from most papers with a kneaded eraser or even a light breath — which is simultaneously its greatest strength (forgiving) and limitation (smudges easily, not permanent). Available in thin, medium, and thick sticks; the thin sticks allow more detail than the thick ones, which are primarily for broad tonal applications.
Compressed Charcoal
Made from powdered charcoal compressed with a binder, compressed charcoal produces darker, denser marks than vine charcoal — the binder pushes the carbon particles into the paper tooth rather than leaving them sitting on the surface. Compressed charcoal is much harder to erase completely; the binder stains the paper slightly even after erasure, leaving a “ghost” of the mark. This makes compressed charcoal appropriate for final darks and definitive marks in a drawing, applied after the initial vine charcoal stages have established the composition. Compressed charcoal comes in sticks (similar to vine) and as charcoal pencils for fine detail work.
The Working Sequence
Most experienced charcoal artists work in stages: initial blocking with vine charcoal (easily corrected), refinement of values and edges with a combination of vine and compressed charcoal, and final dark accents with compressed charcoal or charcoal pencil. Understanding this sequence — and not using compressed charcoal too early — prevents the beginner’s common error of committing too hard to incorrect values before the drawing’s structure is established.
Charcoal Pencils
Charcoal pencils (compressed charcoal encased in a wood barrel) allow more precise line and detail control than sticks — they can be sharpened to a fine point and used for delicate linework, fine texture, and detail in areas where the broad marks of stick charcoal are too coarse. The tradeoff is that charcoal pencils don’t blend or smudge as readily as stick charcoal and can’t cover large areas efficiently. They’re best used in the later stages of a drawing for refinements, rather than as the primary drawing tool.
White charcoal pencils — technically chalk or compressed titanium white in pencil form — are used on toned or black paper to add highlights. On grey Canson Mi-Teintes paper, a combination of black charcoal (for darks) and white charcoal pencil (for lights) with the paper tone handling the mid-values produces drawings with a striking three-dimensional luminosity.
Blending: Tortillons, Fingers, and Chamois
Blending is as fundamental to charcoal drawing as mark-making itself — the ability to blend charcoal into smooth tonal gradations is what gives charcoal its characteristic atmospheric quality:
- Tortillon (blending stump): A tightly rolled paper cylinder with a pointed tip, the tortillon blends and softens charcoal marks with controlled precision. Use the tip for small area blending and edge softening; use the side for broader tonal smoothing. Tortillons pick up charcoal as they blend and become loaded with pigment — a loaded tortillon can actually draw with the accumulated charcoal, adding tone to light areas. Clean by rubbing on sandpaper.
- Fingers: The warmth and pressure of fingers blend charcoal more aggressively than tortillons, producing smoother, less detailed gradations. Fingers work well for large background areas and broad tonal zones where fine control isn’t needed. Using different fingers (index for detailed blending, heel of the palm for large areas) gives different blending qualities.
- Chamois cloth: A soft leather chamois blends very broadly and can quickly establish large tonal areas — covering a sheet of paper in an even mid-tone, or softening a large sky area. Too coarse for detailed work but invaluable for initial tone-laying.
Kneaded Eraser Techniques for Highlights
In charcoal drawing, the eraser is as much a drawing tool as the charcoal stick — it removes tone to create highlights, lighten passages, and recover light areas after toning the paper:
A kneaded eraser (putty rubber) is the primary charcoal eraser — it lifts charcoal without leaving residue, can be shaped to any form, and doesn’t abrade the paper surface. Key techniques:
- Dabbing (not rubbing): Pressing the kneaded eraser into the charcoal surface and lifting lifts the charcoal cleanly without smearing. Rubbing spreads the charcoal into adjacent areas. Dab for highlight extraction; rub only for deliberate blending.
- Molding for shape: Kneaded erasers can be shaped into points, wedges, or flat planes to match the highlight’s shape — a thin wedge for a narrow catchlight in an eye, a flat plane for a broad highlight on a forehead.
- Partial lifting: Multiple light dabs gradually lighten a tone without going fully back to white — useful for subtle midtone adjustments rather than bright highlights.
A firm plastic eraser (Staedtler Mars or similar) cuts through compressed charcoal more aggressively than a kneaded eraser — it’s the tool for recovering very bright highlights or removing charcoal that the kneaded eraser can’t fully lift. A fine-pointed eraser (Tombow Mono Zero) allows precise highlight detail that no kneaded eraser can match.
Fixative Use
Charcoal drawings are inherently fragile — the loose carbon particles that give charcoal its characteristic softness will smear if the finished drawing is handled or stored without protection. Fixative (a dilute solution of resin in solvent, applied by spray) consolidates the charcoal particles to the paper surface:
Work fixative and final fixative serve different purposes. Work fixative is sprayed on a partially complete drawing, allowing additional charcoal to be applied over a fixed layer without disturbing what’s underneath — an important technique for building deep darks in multiple passes. Final fixative is applied to a completed drawing to protect it permanently.
Light fixative coats preserve more of the charcoal’s powdery, matte quality; heavy coats produce a slightly glossier surface and darken the values slightly. Always spray in a well-ventilated area — fixative solvents are volatile and toxic in enclosed spaces. Krylon Workable Fixatif, Winsor & Newton Workable Fixative, and SpectraFix (a casein-based, low-solvent alternative) are commonly used products.
Approaching a Portrait, Still Life, and Landscape in Charcoal
Portrait
Begin by lightly toning the entire paper with vine charcoal rubbed in with a chamois — this mid-tone ground is the starting point from which you subtract (erase) lights and add (draw) darks. Block in the major shadow shapes of the face as flat dark areas; establish the shadow-to-light boundary edge. Then begin refining — softening edges where form turns gradually, sharpening edges where form changes abruptly (the edge of the nostril, the upper lip, the hard highlight on the iris). Portraits in charcoal reward value accuracy more than line precision.
Still Life
Charcoal still life work benefits from dramatic, raking light that creates strong shadow patterns. Begin with the darkest shadows (compressed charcoal), establish the lightest highlights (kneaded eraser), and develop the middle tones with vine charcoal and blending. Still life in charcoal is excellent practice for understanding the value structure of three-dimensional form — the same tonal logic applies to every object regardless of its color.
Landscape
Landscape in charcoal emphasizes atmospheric perspective — the way distant objects appear lighter, softer, and lower in contrast than foreground elements. Begin with the lightest elements (sky) using minimal charcoal; build through middle distances to the darkest, most detailed foreground. Alaska landscape in charcoal — Chugach peaks, the birch forest edges of Kincaid Park, tidal mudflat patterns — suits the medium’s atmospheric capacity beautifully.
Charcoal Drawing Workshops in Anchorage
Anchorage charcoal drawing workshops run 2–4 hours, typically focusing on one subject type — portrait, still life, or landscape — with emphasis on tonal value and the use of the eraser as a drawing tool. Workshop prices run $45–$80, with charcoal, paper, and fixative provided. A home starter kit (a box of Generals vine charcoal sticks, a box of compressed charcoal sticks, a kneaded eraser, and a pad of newsprint for practice) costs $20–$35. Our free things to do in Anchorage guide covers the figure drawing sessions, open studio events, and community art spaces — the Anchorage Museum hosts regular arts programming and community drawing sessions — where charcoal drawing is a regular practice medium in Anchorage. Our Anchorage hiking guide covers the landscape environments — mountain silhouettes, birch forests, and the coastal tidal flats visible from the Tony Knowles Coastal Trail — that offer some of the most dramatic subject matter for atmospheric charcoal landscape drawing in Alaska.


No comments yet.