Wet Felting Classes and Workshops in Anchorage: Wool, Scarves, and Felted Bowls
Wet felting is one of the oldest textile processes in human history — before weaving, before spinning, people were matting wool fibers together with water, soap, and friction to create a dense, warm, durable fabric. The process exploits wool fiber’s unique property: microscopic scales on each fiber that, when agitated in warm soapy water, interlock with neighboring scales and bond permanently into a cohesive fabric that won’t unravel when cut. The resulting material — felt — has no right or wrong side, requires no hemming, holds its shape when cut, and produces a warmth-to-weight ratio that makes it one of the most practical natural fibers for cold-climate use. In Anchorage, wet felting workshops have found a particularly resonant audience for exactly this reason: a craft that produces genuinely warm, functional accessories from natural wool connects directly to life in a cold-climate city. Felted scarves, hats, bowls, and bags appear in Anchorage craft markets alongside the work of fiber artists who’ve developed the technique to fine art levels. This guide covers wool roving selection, soap and water ratios, fiber layering, rolling and fulling, surface design, and beginner projects in 2026.
Wool Roving Selection
The fiber is everything in wet felting. Only wool (and some other animal fibers) felts through the wet felting process — plant fibers like cotton and linen, and most synthetic fibers, won’t mat and bond the way wool does. Within wool, felting speed and quality vary significantly by breed and processing:
- Merino wool roving: The most popular felting fiber for most applications — fine, soft, felts readily, available in a wide range of hand-dyed colors, and produces felt with a smooth, fine-textured surface. Merino’s fine fiber diameter makes it excellent for next-to-skin items (scarves, hats) where coarser wool would be scratchy. The trade-off is that merino felts quickly, which is great for speed but means you need to check progress frequently to avoid over-felting thin areas.
- Corriedale roving: A medium-fine wool from a Corriedale sheep cross that felts reliably, holds color beautifully, and produces a slightly firmer felt than merino. Excellent for structural pieces (bowls, bags) where you want a stiffer finished material. Less expensive than merino and more forgiving for beginners.
- Coarser breeds (Romney, Cheviot, CVM): Coarser wool fibers felt more slowly, which gives beginners more control over the process. The finished felt is less refined than merino but can be quite beautiful in its own right. Some fiber artists prefer coarser wool for its texture and the connection to traditional folk felting traditions.
Wool roving (fiber drawn into loose, unspun rope-like lengths) is the standard wet felting preparation. Pre-pulled batts (flat sheets of carded fiber) also work well for flat wet felting projects. Avoid superwash-treated wool — the treatment chemically removes the surface scales that enable felting, and superwash wool won’t felt at all.
Soap and Water Ratios
Water and soap are the facilitating agents in wet felting. The water opens the wool scales and lubricates the fiber for agitation; the soap reduces surface tension so water penetrates the fiber bundle rather than beading on it:
Water temperature: Hot water (as hot as your hands can comfortably tolerate, or hotter with gloves) speeds up felting and helps open the wool scales more fully. Shock treatments — alternating very hot and cold water — accelerate fulling (the compaction and hardening phase). Some felters work with room-temperature water for more control, accepting slower felting in exchange for easier process management.
Soap type: A small amount of soap is enough — a few drops of dish soap or bar soap rubbed between your hands. Too much soap produces so much lather that you can’t feel the fiber matting, making it harder to monitor progress. Olive oil soap (castile soap) is a popular traditional choice that’s gentle on hands during long felting sessions. Specialized felting soap (Unicorn Fibre Wash) is used by many studio felters. Avoid conditioner-containing soaps, which can inhibit felting.
Laying Out Fibers
The way fibers are laid out determines the felt’s thickness, strength, and design:
For a basic flat felt panel, wool is laid out in thin, even layers with fibers running in alternating directions — one layer horizontal, the next vertical, the next diagonal. Alternating directions produces felt that’s equally strong in all directions and won’t have structural weak points. Each layer should be thin enough to see through; multiple thin layers produce better felt than fewer thick layers. The total thickness of the layup before felting is approximately three times the desired finished thickness (felt shrinks significantly during the fulling process).
Colors and designs are incorporated by placing additional colored roving on top of the base layers before felting begins — the surface design fibers felt into the base and become permanent. Simple designs (stripes, dots, abstract shapes) work well for beginners; more complex pictorial designs require more experience to position and keep from shifting during early agitation.
Rolling and Fulling
Wet felting happens in two distinct stages: initial matting and fulling.
Initial matting: After laying out the fiber design, hot soapy water is poured or sprinkled over the layup and worked gently by hand to wet the fiber without disturbing the layout. The wet fiber is then covered with a piece of bubble wrap (bubbles down, to add agitation texture) or netting, and gently pressed and rubbed to begin the matting process. This stage requires gentleness — aggressive rubbing before the fibers have begun to mat displaces the design and creates lumpy, uneven results. The fiber is ready to roll when a pinch test shows the top fibers don’t pull away from the mass — they’ve bonded enough to move as a unit.
Rolling: Once initial matting is established, the felt (covered in bubble wrap or netting) is rolled around a pool noodle or dowel and rolled back and forth on the table under firm pressure for 10–20 minutes. Rolling compresses and agitates the fiber from inside, accelerating the felting throughout the fabric thickness. Unrolling, checking, rotating 90 degrees, and re-rolling in a different direction produces even felting without developing weak spots.
Fulling: The final compaction and hardening phase. The partially felted piece is kneaded, thrown against the table (fulling by throwing), or rolled more vigorously to compress and harden the felt to the desired firmness. Alternating hot and cold water rinses during fulling accelerates compaction. The felt shrinks noticeably in all directions during fulling — a flat scarf blank typically shrinks 20–35% in each direction, which must be accounted for in the initial layup size.
Surface Design with Resist Felting
Resist felting uses a shape cut from plastic or foam (the “resist”) placed inside or under the fiber layup to prevent felting in specific areas, creating openings, pockets, or 3D forms in the finished piece. A flat resist placed inside a layup (fiber on both sides) produces a finished piece with an opening where the resist was — the standard technique for making felted bags, slippers with openings, and vessels. 3D vessel felting wraps fiber around a bubble wrap or pool noodle form, felts it, then removes the form to produce a hollow vessel.
Beginner Projects
Two project types develop wet felting fundamentals effectively:
Flat scarves and panels: A flat wet-felted scarf in merino wool teaches layup, wetting, initial matting, rolling, and fulling in a single project. Alaska color palettes — aurora gradients, glacier blues, birch forest golds — translate beautifully into the soft color blending that wet felting produces where different colored fibers meet.
Felted bowls: A small open vessel felted over a ball or bubble wrap resist produces a structural piece that demonstrates how dimensional form develops from a flat layup. Beginner bowls in Anchorage workshops often feature Alaska wildflower designs or textural surface work.
Wet Felting Workshops in Anchorage
Anchorage wet felting workshops typically run 3–4 hours, reflecting the time required for the rolling and fulling stages. Beginner scarf and small bowl workshops are the most common formats; multi-session courses develop more complex vessel, hat, and resist felting techniques. The Alaska Fiber Arts community and Anchorage Weavers and Spinners Guild both connect wet felting practitioners and surface periodic workshop offerings.
Workshop prices run $45–$85, with merino roving, soap, and a rolling surface included. A home wet felting starter kit (merino roving in several colors, a pool noodle, bubble wrap, olive oil soap) costs $30–$50 and produces several project sessions. Anchorage craft workshop participants can show and sell their finished work at year-round events including the Anchorage Market & Festival, the Anchorage Native Arts & Culture Festival, and the Alaska State Fair. Our free things to do in Anchorage guide covers the fiber arts events and community spaces where Anchorage’s felting community is most active. Our Anchorage hiking guide covers the wildflower meadows, boreal forests, and alpine environments whose colors — fireweed magenta, spruce green, tundra gold — inspire the most distinctive Alaska-specific wet felting palettes.
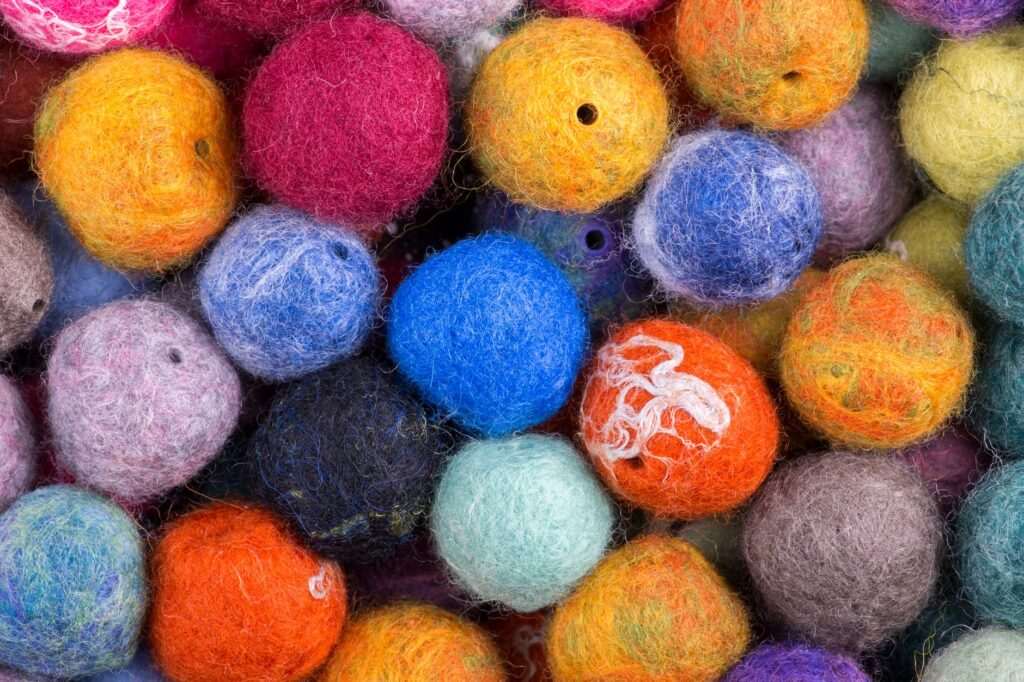
Photo by Valentin Ivantsov on Pexels.


No comments yet.