Polymer Clay Classes and Workshops in Anchorage: A Complete Guide
Polymer clay sits at an unusual intersection in the craft world: it’s a synthetic sculpting medium that behaves like traditional clay during shaping but requires no kiln, no glaze, and no specialized firing equipment — just a home oven. That combination of accessibility and sculptural freedom has made polymer clay one of the fastest-growing craft disciplines of the past decade, with practitioners ranging from casual hobbyists making earrings to professional artists producing intricate cane-work sculptures that sell for hundreds of dollars. In Anchorage, polymer clay workshops have found a consistent audience, partly because the cold-weather months make hands-on indoor craft particularly appealing and partly because the medium’s color possibilities connect naturally to Alaska’s vivid visual vocabulary — aurora palettes, glacier blues, fireweed magentas. This guide covers polymer clay brands, core techniques, project types, and what a beginning polymer clay practice looks like in 2026.
Polymer Clay Brands: Sculpey, Fimo, and Premo
Not all polymer clay performs the same way, and brand selection matters more in polymer clay than in most craft materials. Three brands dominate the serious practitioner market:
Sculpey III
Sculpey III is the most widely available beginner brand — found in major craft stores, inexpensive, and easy to condition out of the package. Its softness makes it easy to work with for beginners, but that same softness produces fragile finished pieces: thin sections break easily after baking, and the cured clay doesn’t hold fine detail as well as stiffer clays. Sculpey III is well-suited to thick, simple projects (beads, simple figures) but isn’t the right choice for delicate jewelry or detailed sculpting where durability matters.
Fimo Professional and Fimo Soft
Fimo’s two lines serve different needs. Fimo Soft conditions easily and produces a slightly more durable result than Sculpey III. Fimo Professional is the brand’s premium line — stiffer, requiring more conditioning work, but producing exceptionally sharp color and detail. Fimo Professional is widely used for cane-making because its stiffness holds cane patterns during reduction without distortion. The color range in Fimo Professional is calibrated for mixing precision, with true primary and secondary colors that blend predictably.
Premo Sculpey
Premo is the most popular all-around clay among serious polymer clay artists. It’s significantly more flexible and durable than Sculpey III after baking, conditions to a workable consistency without being overly soft, and holds fine detail well. Premo’s color range includes metallics, translucents, and a wide spectrum of saturated colors. Most workshop instruction uses Premo or Fimo Professional as the working medium, and most tutorial resources assume one of these two brands.
Conditioning: The Essential First Step
Polymer clay straight from the package is too stiff and crumbly to work with effectively — it needs conditioning to soften the plasticizers and make the clay pliable. Conditioning means working the clay repeatedly: folding, rolling, and pressing until it reaches a smooth, consistent texture with no crumbles or air pockets.
Manual conditioning (kneading by hand) works for small amounts but becomes tiring for larger quantities. A pasta machine (dedicated to clay use — not returned to food use afterward) is the standard conditioning tool: running clay through the widest setting repeatedly, folding and re-rolling, conditions a block in minutes and produces evenly textured clay without hand fatigue. Under-conditioned clay cracks and breaks after baking; fully conditioned clay cures to a durable, flexible result.
Color Mixing
One of polymer clay’s defining features is the ability to mix colors to any shade. The same color theory that applies to paint applies here: combining a small amount of red with white produces pink; adding black in tiny increments darkens any color without shifting its hue as dramatically as adding brown does. Translucent clay mixed with colored clay produces a semi-transparent tinted effect useful for simulating stone, glass, and organic materials.
Color mixing requires patience with small amounts — color ratios that look right in a pea-sized ball look very different in a larger mass. Most experienced polymer clay artists keep color mixing notes: the ratios used to achieve specific colors, so the shade can be reproduced. Color mixing before conditioning is more efficient than trying to blend after a piece has been worked.
Millefiori Cane Techniques
Millefiori (“thousand flowers” in Italian) cane-making is the most technically complex and visually distinctive technique in polymer clay. A cane is built by assembling layers and shapes of different clay colors into a log that, when viewed from the end, shows a cross-sectional pattern — a flower, a face, a geometric shape, an animal. The cane is then reduced (slowly compressed and elongated, maintaining the cross-section) until it’s the diameter needed, then sliced into thin rounds. The sliced pattern appears identically in each slice regardless of how thin they’re cut.
Cane-making requires planning, precise clay quantities, and careful reduction technique (reducing too fast distorts the design; reducing unevenly produces variations across the cane length). A well-made flower cane can produce hundreds of identical slices; those slices are applied to vessels, jewelry surfaces, or other clay bases to create intricate patterned surfaces. Millefiori is a workshop-level skill that requires practice to execute cleanly, but the results — complex, repeating patterns impossible to achieve by hand-painting — are among the most visually impressive in polymer clay work.
Project Types: Jewelry, Figurines, and Beyond
Polymer clay’s project range is wide:
- Jewelry: The most popular polymer clay application — earrings, pendants, beads, and rings. Small scale makes efficient use of clay, and baked polymer clay accepts metal hardware (earring posts, jump rings, bail findings) with strong adhesive bonds. Thin, flat earring shapes are among the most accessible beginner jewelry projects.
- Figurines and characters: Polymer clay’s ability to hold fine detail at small scales makes it the preferred medium for miniature figurines, character sculpture, and fantasy creature work. Alaska-specific figurines — puffins, bears, salmon — appear in Anchorage workshop curricula.
- Vessel and surface decoration: Clay sheets and cane slices applied over glass, ceramic, or polymer bases create richly decorated vessels and home objects. Covering a simple glass votive with patterned clay sheets transforms a plain object into a decorative piece.
- Mixed media: Polymer clay combines readily with wire armatures, fabric, wood, and found objects. Wire armatures inside sculpted figures provide structure for thin appendages; fabric embedded in clay creates textural effects.
Baking and Curing
Polymer clay cures in a home oven at low temperatures — typically 265–275°F (129–135°C) depending on the brand. Underbaking produces brittle, fragile pieces; overbaking burns and discolors the clay. A separate oven thermometer is worth using, since home oven temperatures are often inaccurate by 25°F or more.
Baking time depends on thickness: most polymer clay guidelines specify minutes per 1/4-inch thickness. Thicker pieces need longer baking times at the same temperature, not higher temperatures. Covering pieces with a foil tent while baking prevents surface discoloration from radiant heat. After baking, the clay is cool-to-the-touch within minutes but reaches full cure strength as it completely cools.
Finishing and Sealing
Baked polymer clay can be sanded, buffed, and sealed:
- Sanding: Wet sanding through progressively finer grits (400, 800, 1000, 2000) removes surface marks and produces a smooth, matte finish. Higher grits before buffing produce better gloss results.
- Buffing: Buffing with a soft cloth or a muslin wheel produces a natural gloss without any coating — the clay itself becomes shiny. Many polymer clay artists prefer buffed gloss to sealant-applied gloss because it doesn’t feel tacky or yellow over time.
- Sealants: Varathane water-based finish (floor varnish) and Sculpey Gloss Glaze are the most reliable sealant options. Avoid nail polish and many spray sealants — the solvents in those products react with polymer clay and remain permanently sticky. Testing any new sealant on a scrap piece before applying to a finished piece is essential.
Polymer Clay Workshops in Anchorage
Anchorage polymer clay workshops cover beginner earring and pendant projects (90 minutes to 2 hours, leaving with 2–4 finished pieces), introductory cane-making sessions, and figurine sculpting classes. The Alaska-specific design vocabulary that appears in other Anchorage craft workshops — aurora palettes, wildlife silhouettes, wildflower forms — translates naturally into polymer clay earring and pendant work, where color and shape combine to produce wearable pieces with regional character.
Workshop prices typically run $40–$75, with clay and basic tools provided. A starter polymer clay kit for home practice (two or three clay colors, a pasta machine, basic tools, baking supplies) runs $50–$100 and produces many project sessions. Anchorage craft workshop participants can show and sell their finished work at year-round events including the Anchorage Market & Festival, the Anchorage Native Arts & Culture Festival, and the Alaska State Fair. Our free things to do in Anchorage guide covers the craft markets and maker events where Anchorage polymer clay artists sell and teach their work. Our Anchorage hiking guide covers the landscapes whose colors — the glacial blues, tundra golds, and aurora greens — inspire the palettes most distinctive to Alaska polymer clay work.
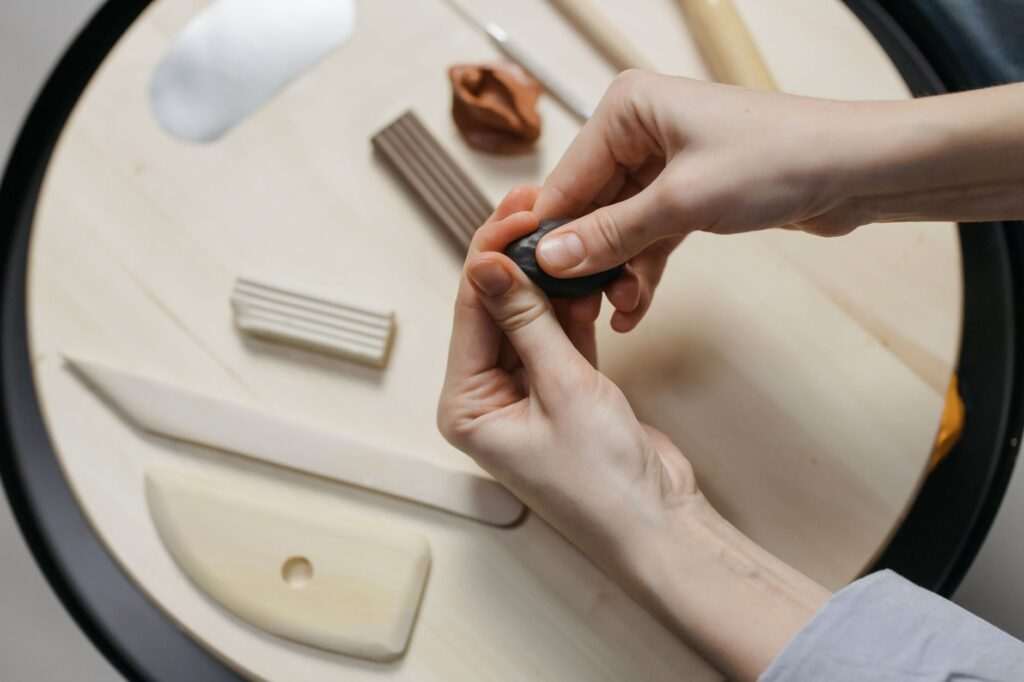
Photo by cottonbro studio on Pexels.


No comments yet.