Whittling Classes and Workshops in Anchorage: A Complete Beginner Guide
Whittling — carving wood with a knife alone, without mallets, gouges, or power tools — is the most accessible entry point into woodcarving for beginners. All it requires is a sharp knife, a piece of soft wood, and patience. No workshop, no bench, no specialized equipment beyond the knife itself. The craft’s portability and simplicity have made it one of the most durable woodcarving traditions across cultures — Scandinavian folk carving, Appalachian tradition carving, and Indigenous woodworking across North America all include knife-only carving as a foundational practice. Contemporary interest in whittling has grown as part of the broader maker movement’s interest in traditional skills and handmade objects, and Anchorage’s outdoor culture and access to birch and spruce make it a natural fit for Alaska’s crafting community. Whittling a small figure, a simple utensil, or an abstract form from a piece of wood is one of those rare skills where the barrier to starting is genuinely low — but the depth of skill that opens up once the basics are learned is essentially unlimited. This guide covers knife selection, wood choice, basic cuts, safety, sharpening, and classic beginner projects in 2026.
Knife Selection
The knife is the only essential tool in whittling, and it matters significantly — a good knife makes the craft pleasant and precise; a poor one makes it frustrating and potentially dangerous:
- Mora 120 and 122: The standard beginner recommendation, almost universally. Mora is a Swedish knife manufacturer with a 125-year history of making knives specifically for wood carving, and their entry-level carving knives ($20–$35) offer a quality of steel, handle comfort, and blade geometry that’s genuinely excellent for the price. The Mora 120 has a longer blade suited to roughing cuts; the 122 has a shorter, more controllable blade preferred for detail work. Both come reasonably sharp from the factory and hold an edge well for a beginner’s use. For most purposes, one Mora knife is sufficient to start whittling.
- Opinel folding knives: Opinel’s carbon steel folding knives (particularly the No. 7 and No. 8) are popular whittling knives for their light weight, thin blade geometry, and carbon steel that sharpens easily to a very fine edge. The folding design makes them portable. The limitation is that the blade geometry — designed as a general utility knife — doesn’t have the specific taper and grind of a dedicated whittling knife. For beginners who already own an Opinel or want a portable, affordable option, it works well.
- Flexcut knives: An American company producing dedicated carving knives with high-quality steel and comfortable ergonomic handles. More expensive than Mora ($35–$55), but the Flexcut Tri-Jack (a folding multi-blade carving knife) and the Pelican Knife are popular with more serious beginners who want a dedicated carving tool beyond the entry-level price point.
- Avoid: Cheap multi-purpose knives, box cutters, and non-carving utility knives. They don’t hold an edge through wood carving and their blade geometry makes precise carving difficult. A $25 Mora outperforms a $100 general-purpose knife for whittling.
Wood Choices
Soft, fine-grained wood makes learning whittling dramatically more pleasant than hard or coarse-grained alternatives:
- Basswood: The overwhelmingly recommended beginner whittling wood — consistent, soft, virtually grain-free, cuts cleanly in any direction, and holds fine detail well. Pre-cut basswood blanks (blocks shaped for common whittling projects) are sold by carving supply companies and make starting even easier by eliminating the initial rough shaping. Basswood is the standard workshop wood for introductory whittling instruction.
- Butternut: Slightly harder than basswood but still in the easy-to-carve range, with a beautiful open grain that adds visual character to finished pieces. Harder to find than basswood but worth seeking out for its warmth and figure.
- White pine: Widely available at hardware stores, inexpensive, and soft enough for beginner whittling. The grain is more pronounced than basswood, which means grain direction matters more — cuts against the grain in pine produce tearing rather than clean cuts. Good for practice; not ideal for fine detail work.
- Alaska-specific options: Alaska yellow cedar (a very stable, fine-grained, pleasantly scented wood) and Sitka spruce are available in Alaska and carve well. Alaska birch is harder than basswood but a meaningful local material connection for Anchorage carvers — it’s the same species that Alaskan craftspeople have worked for generations.
Avoid oak, maple, walnut, and other dense hardwoods until knife skills are solid — they require significantly more force, dull knives faster, and punish poor technique more harshly.
Basic Cuts
Whittling uses a small vocabulary of cuts that cover most carving situations:
- Push cut: The knife is pushed away from the body, with the thumb of the carving hand bracing against the wood for control. Used for rough shaping and longer strokes. The most intuitive cut for most beginners, though it’s also the cut most likely to get away if the wood grain shifts unexpectedly — always carve with, not against, the grain.
- Pull cut (paring cut): The knife is pulled toward the body (thumb side), using the thumb as a lever and brake. Produces controlled, precise cuts in tight areas. The pull cut gives more control than the push cut but requires careful thumb placement — a leather thumb guard (or leather glove on the thumb) prevents cuts when the knife reaches the end of its travel.
- Pare cut: The wood is held in one hand and the knife peels thin shavings with short strokes, similar to peeling a vegetable. Excellent for controlled removal of small amounts of material in detail areas.
- Stop cut: A perpendicular cut made into the wood to define a boundary, followed by a cut from the other side that removes material up to the stop. Used to create sharp corners and defined edges (around a figure’s ear, along a collar line) that a continuous stroke would round over.
Safety
Whittling injuries are almost always caused by dull knives and careless technique — a sharp knife used correctly is far safer than a dull knife that requires excessive force and slips unpredictably:
The carver’s thumb is the most vulnerable body part in most whittling situations. A leather thumb guard (a small piece of leather looped over the thumb) for pull-cut work, and a cut-resistant glove on the holding hand, protect the most exposed areas. Always carve away from the body when possible, and always know where the knife will go if it slips before making a cut. Carve sitting down with the wood braced against a knee or table rather than holding it loosely in the air.
Sharpening
Sharpening is inseparable from whittling. A sharp knife cuts cleanly with light force; a dull knife tears the wood and requires unsafe pressure. The sharpening progression for maintaining a whittling knife:
A leather strop charged with honing compound (green chromium oxide or white aluminum oxide compound) maintains a sharp edge between actual sharpening sessions — 10–20 passes on the strop before each carving session keeps the edge keen. When the edge actually dulls (stropping no longer restores sharpness), a progression of waterstones or diamond plates (400 grit to remove damage, 1000 grit to refine, 3000+ grit to polish) restores the edge. Learning to feel when an edge is sharp (it catches on a fingernail rather than sliding off; it shaves arm hair cleanly) is a skill that develops with practice and is as important as the carving itself.
Beginner Projects
The classic beginner whittling progression introduces technique in order of complexity:
A wooden butter knife or spreader is the simplest functional project — a flat, tapered shape requiring only profiling cuts with no complex detail. Completeable in 1–2 hours for a first-time carver. A simple figure (bear cub, bird, fish) introduces stop cuts, rounded forms, and the relationship between positive and negative space — where wood is removed shapes what remains. A caricature or stylized face develops the refined detail work that separates beginning from intermediate carving. Alaska wildlife subjects — bear, moose, raven, salmon — are natural beginner figure choices for Anchorage carvers and produce pieces with genuine regional meaning.
Whittling Workshops in Anchorage
Anchorage whittling workshops typically run 2–3 hours, with participants completing a simple figure or butter knife from a basswood blank. Some workshops incorporate sharpening instruction as a session component — understanding maintenance is as important as the carving technique itself. Alaska-themed figure projects (a small bear or salmon blank) appear in workshop curricula that connect the craft to the surrounding environment.
Workshop prices run $40–$75, with wood, knife use during the session, and sandpaper included. A home whittling starter kit (Mora 120 carving knife, a strop and honing compound, and a basswood blank or two) costs $40–$60 and provides everything needed to begin. Anchorage craft workshop participants can show and sell their finished work at year-round events including the Anchorage Market & Festival, the Anchorage Native Arts & Culture Festival, and the Alaska State Fair. Our free things to do in Anchorage guide covers the craft markets and artisan events where Anchorage wood carvers sell their work. Our Anchorage hiking guide covers the birch forests, spruce stands, and wildlife environments that inspire Anchorage whittlers’ most distinctive regional subjects.
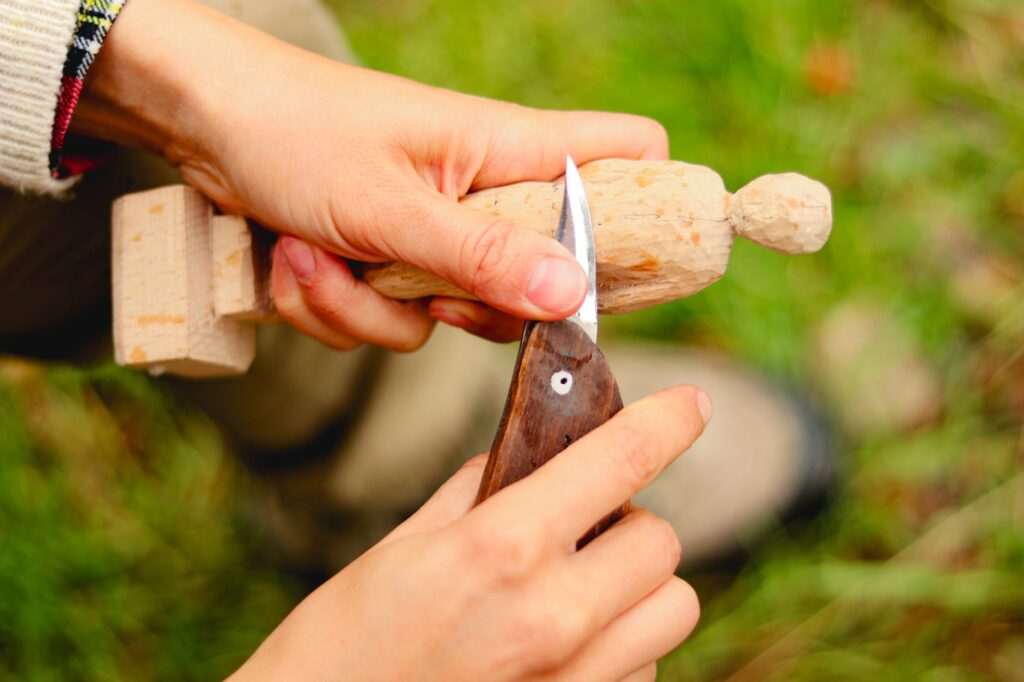
Photo by Golboo Maghooli on Pexels.


No comments yet.