Stained Glass Classes in Anchorage 2026 — Copper Foil and Lead Came Workshops
Stained glass sits at the extreme end of the craft complexity spectrum — it requires significant tool investment, demands precision cutting and assembly skills, involves both chemical (flux, patina) and thermal (soldering) processes, and produces finished objects of genuine visual power that belong as much in the category of fine art as handcraft. Yet the fundamentals of the craft are learnable in a single workshop session, the basic tools are within reach of most serious crafters, and the combination of light transmission, color, and leaded line creates effects that no other medium replicates. Alaska’s long winter darkness and its dramatic natural light — low-angle winter sun, summer aurora, the luminous quality of light filtered through boreal forest canopy — give stained glass a particular resonance in Anchorage, where pieces that respond to changing light conditions are especially appreciated. This guide covers stained glass workshops in Anchorage in 2026, the two primary construction methods, the tools involved, and what a beginning stained glass practice looks like.
Two Methods: Copper Foil vs. Lead Came
Stained glass construction uses one of two methods to join individual glass pieces into a unified panel. Both produce structurally sound results, but each has different characteristics that suit different project types:
Copper Foil (Tiffany Method)
Developed and popularized by Louis Comfort Tiffany in the late 19th century, the copper foil method wraps each glass piece in adhesive copper tape, then solders the copper-wrapped pieces together where they meet. The resulting solder lines follow the exact outline of each piece, allowing for complex, curved shapes and fine detail work that lead came can’t accommodate.
Copper foil is the method most commonly taught in beginner workshops because it’s more forgiving: pieces can be repositioned before soldering, solder can be added or removed to correct mistakes, and the construction process is more intuitive than lead came assembly. Finished copper foil pieces have a characteristic look — fine, rounded solder beads following each piece edge — that’s different from the flat, traditional look of lead came work.
The method requires: glass cutter, running pliers, copper foil tape (in widths matched to the glass thickness), flux, solder (60/40 tin-lead or lead-free alternatives), and a soldering iron (80–100 watts minimum — underpowered irons produce cold, lumpy solder joints).
Lead Came
Traditional architectural stained glass uses lead came — H-profile strips of lead channel that hold glass pieces in their grooves, with joints soldered at intersections. Lead came produces the flat, geometric look of traditional church and gothic windows — strong, straight-line designs with the characteristic broad black leading that defines the aesthetic.
Lead came construction requires a flat work surface with border strips to hold the assembly square, and the design must be planned to work within the structural constraints of came — pieces can’t be too small or intricate for the came to hold reliably. Lead came assembly is faster than copper foil for large, geometric designs but less suited to curved or complex shapes.
Lead came work involves additional safety considerations: lead dust from cutting and handling came is a health hazard, requiring careful hygiene (washing hands before eating, not eating in the workspace, using gloves or washing thoroughly after work). This is well-managed in workshop settings with appropriate protocols.
Glass Cutting: The Core Skill
Every stained glass project begins with cutting glass to the required shapes, and accurate cutting is the foundational skill the entire craft depends on. The glass cutter scores a line in the glass surface; the score creates a stress line that guides the break when pressure is applied. A properly executed score and break produces a clean edge; a poor score (too light, too heavy, dragged too slowly or quickly) produces unpredictable breaks or edge chips.
The basic glass cutting sequence:
- Use a carbide-wheel glass cutter with cutting oil (or a self-oiling cutter). Dry scoring dulls the wheel and produces poor scores.
- Score in a single, continuous pass with even, moderate pressure. The sound should be a consistent light hiss, not a grinding or silence.
- Break the glass immediately after scoring — the score relaxes over time and loses its effectiveness.
- For straight cuts: use running pliers (pliers that apply even pressure along the score line) or tap the score from underneath with the cutter ball end while holding the glass.
- For curves: use grozing pliers (serrated-jaw pliers) to nibble away excess glass along curved score lines where running pliers can’t be used.
Practice cutting straight lines and gentle curves on scrap glass before attempting project pieces — cutting skill development is rapid with focused practice, but attempting complex curves on expensive art glass before basic cutting is solid produces frustration and wasted material.
Soldering and Finishing
Soldering is the joining step — applying heated solder to flux-covered copper foil (or lead came joints) to create a solid metal bond. A quality soldering iron with temperature control (set to approximately 700–750°F for 60/40 solder) is essential. Too cold and solder doesn’t flow properly; too hot and it burns through the copper foil or damages the glass.
The finishing steps transform a functional joined panel into a polished piece:
- Patina: Chemical solutions (copper sulfate for copper patina, black patina for lead-look finish) darken the solder lines from silver to black or copper brown. Applied after soldering and cleaned off with flux remover.
- Polishing: Carnauba wax or commercial stained glass compound polishes the glass surface and protects the patina.
- Hanging hardware: Small copper loops soldered to the top edge of finished pieces provide hanging points.
Stained Glass Workshops in Anchorage
Anchorage’s stained glass workshop landscape is anchored by dedicated stained glass studios and independent instructors who teach from equipped private studios. Workshop formats vary from 2-hour intro sessions (producing a small copper foil piece like a simple sun catcher or Alaska wildlife silhouette) to multi-day intensives that take a larger panel from design through completed soldering.
Prices run $55–$120 for single sessions, with materials (glass, foil, flux, solder) included. Multi-session courses (4–8 weeks) develop more complete technique, including glass selection, pattern design, and complex cutting. Alaska-themed beginner projects — a raven silhouette, a mountain horizon, a fireweed sprig — appear regularly in Anchorage stained glass workshops as designs that connect the craft to regional visual culture.
The investment in home stained glass equipment runs $150–$400 for a functional starter setup (glass cutter, running pliers, grozing pliers, soldering iron, safety glasses, flux and brush, solder). Glass is available from stained glass specialty suppliers who ship to Alaska addresses. Anchorage craft workshop participants can show and sell their finished work at year-round events including the Anchorage Market & Festival, the Anchorage Native Arts & Culture Festival, and the Alaska State Fair. Our free things to do in Anchorage guide covers the art galleries and studios where Anchorage stained glass work is exhibited and sold. Our Anchorage hiking guide covers the landscapes whose forms and light conditions — mountain silhouettes, forest textures, aurora colors — inspire Alaska-specific stained glass design.
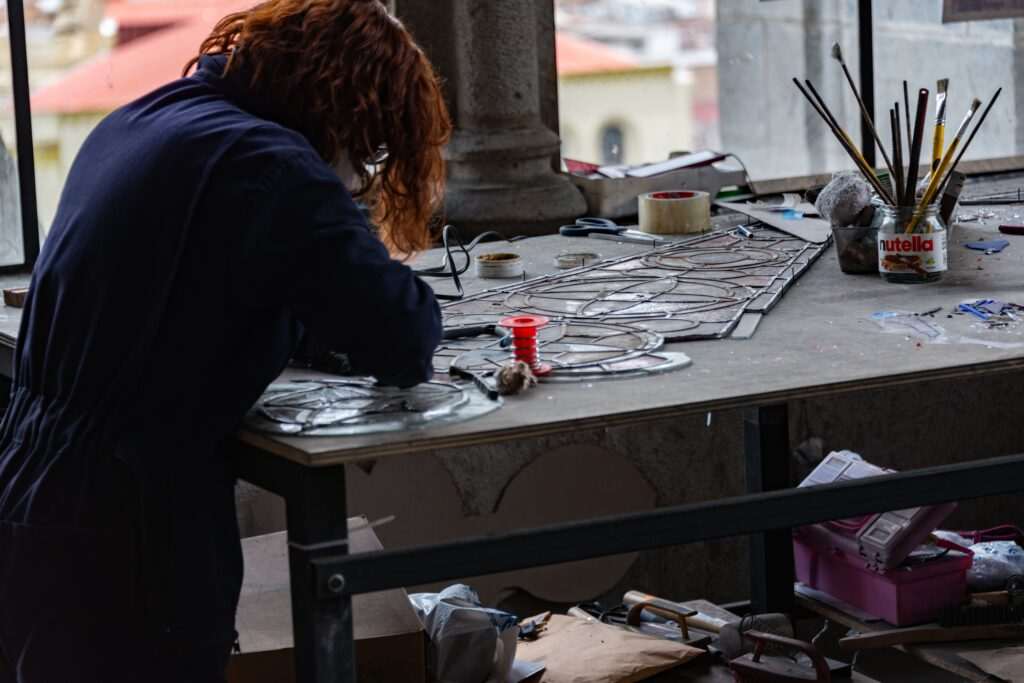
Photo by Katie Rainbow 🏳️🌈 on Pexels.


No comments yet.